

At its core, making a product video is pretty straightforward: figure out your main message, capture some great-looking footage, and then weave it all together into a short, compelling story. You don't need a Hollywood budget; even a well-lit video shot on your smartphone can make a huge difference in grabbing attention and driving sales by simply showing your product in the real world.
Why Product Videos Are a Must-Have for Growth
Before you even think about hitting the record button, let's talk about why learning to create product videos is one of the smartest moves you can make for your business. This isn't just about churning out more content. It's about forging a connection with your customers in a way that static images and descriptions just can't match.
A great video acts as a bridge between the digital shelf and your customer's life. It lets them see, hear, and almost feel the product. It’s a powerful format for showing, not just telling. You can break down a complex feature in a few seconds, run through multiple uses in a quick montage, or tell your brand's story in a way that actually resonates. That kind of clarity builds the trust and confidence people need before they buy.
The Numbers Don't Lie: Videos Drive Buying Decisions
Video has gone from a "nice-to-have" marketing extra to a non-negotiable tool for any growing business. It's projected that by 2025, 89% of businesses worldwide will be using video as a key part of their marketing, and an overwhelming 95% of video marketers already see it as vital to their strategy. These stats point to a major shift in how brands communicate and, more importantly, how people prefer to shop and learn.
And the results? They speak for themselves. An impressive 93% of marketers see a positive return on investment (ROI) from their video marketing. When you dig into the specifics, you see just how much of an impact video has:
- Brand Awareness: 96% of marketers found that video helped them increase brand awareness.
- Website Traffic: 82% saw a direct boost in traffic to their website.
- Lead Generation: 88% credit video with bringing in more leads.
- Direct Sales: 84% reported that their videos directly helped increase sales.
These 2025 video marketing statistics paint a clear picture. Ultimately, videos don’t just show off what you sell—they give customers the confidence they need to click that "Add to Cart" button.
Building a Relationship, Not Just a Sale
In a sea of online options, product videos make your brand feel more human and help you stand out. When a potential customer sees a real person using your product or hears an honest testimonial, it creates a layer of authenticity that’s tough to fake.
This kind of visual storytelling builds a much deeper connection, making your brand more memorable and relatable. For a deep dive into every step of this process, check out this complete guide to creating product videos that drive sales and engagement.
Takeaway: Putting resources into product videos isn't just another marketing expense. It's a strategic investment that builds trust, clarifies your product's value, and directly boosts your bottom line by helping customers decide to buy.
Your Pre-Production Blueprint for Success
Honestly, great videos are made long before you ever hit the record button. If you just jump into filming without a solid plan, you're essentially starting a road trip without a map. You might end up somewhere interesting, but it probably won't be where you intended to go. This pre-production phase is where you lay the foundation for a smooth, effective, and budget-friendly shoot.
Thinking through every detail now saves you from the massive headache (and expense) of reshoots later. This is where a vague idea gets sharpened into an actionable plan that guides every single decision, from the first word of the script to the final cut.
The whole planning process can be visualized as a clear path, from that initial spark of an idea to a fully realized, shoot-ready strategy.
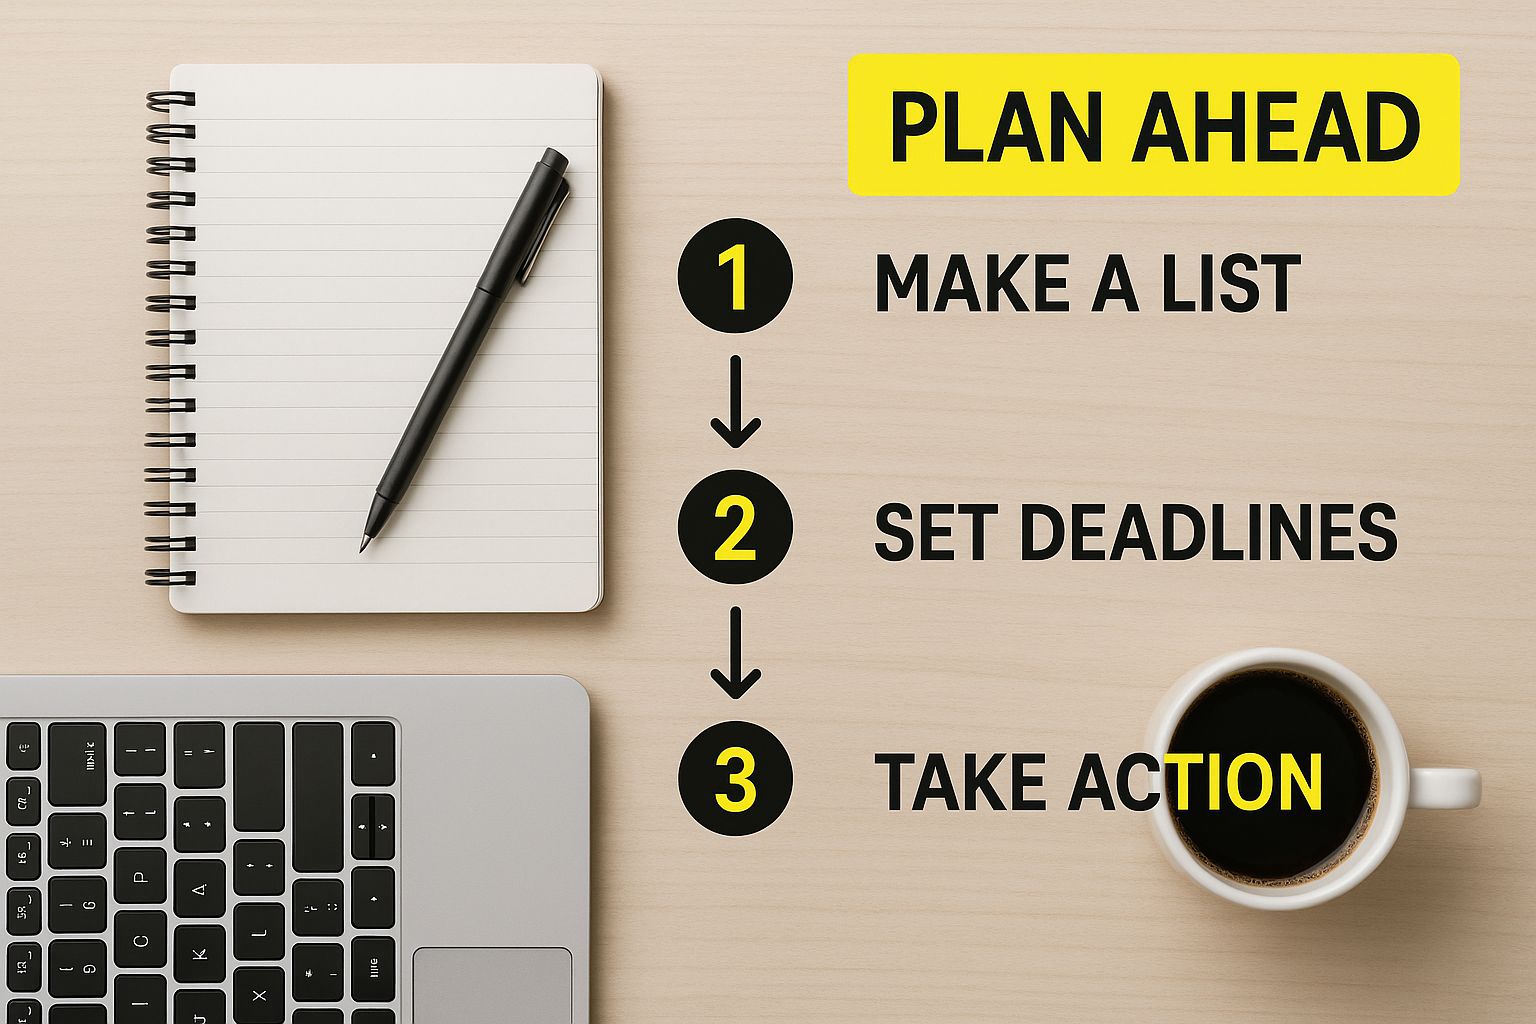
Think of it this way: a successful video starts with a solid plan, just like a great project starts at a well-organized desk.
Nail Down One Clear Goal
Before you write a single line or even think about locations, stop and ask yourself one simple question: What is the number one thing I want this video to achieve?
Trying to do it all—drive sales, build brand awareness, and educate users—just muddies your message and leaves viewers confused. You have to pick one primary objective.
- Driving Sales: Is the whole point to get someone to click "Add to Cart" right now? If so, your video needs to be laser-focused on benefits, create a sense of urgency, and end with a crystal-clear call-to-action.
- Educating Viewers: Maybe you're trying to explain a tricky feature or show how your product solves a common frustration. This calls for a clear, helpful tone with simple, step-by-step visuals.
- Announcing a New Feature: Is the goal to get your existing customers hyped about an update? Your video should be quick, energetic, and built around that "wow" factor.
Having a single, defined goal is your North Star. It ensures every choice you make—from the background music to the editing pace—serves that one core purpose.
Get Inside Your Audience’s Head
Once your goal is set, you need to get crystal clear on who you're talking to. A video for a tech-savvy early adopter will look and sound completely different from one made for a busy parent who just needs a simple solution.
What are their pain points? What do they really want? What kind of language do they use? Your video needs to speak directly to them. If your product is a time-saving kitchen gadget, don’t just list its technical specs. Show how it gives a stressed-out professional more time to actually relax and enjoy their evening.
A great product video doesn't just show what a product does. It shows your ideal customer how it makes their life better.
Write a Story, Not Just a Script
With your goal and audience locked in, it’s time to tell a story. Don't just make a list of features. Weave them into a simple narrative that has a clear beginning, middle, and end.
- The Hook (First 3-5 seconds): You have to grab their attention immediately. Kick things off with a surprising statistic, a super-relatable problem, or a stunning shot of your product in action.
- The Problem: Briefly touch on the pain point your product solves. This makes the viewer feel like you understand them and gives them a reason to keep watching.
- The Solution & Benefits: Now, bring in your product as the hero. But remember to focus on the benefits, not just the features. Instead of saying, "It has a 5,000 mAh battery," say, "You get all-day battery life, so you'll never be hunting for an outlet again."
- The Call-to-Action (CTA): End with a direct, unmissable instruction. Tell them exactly what to do next: "Shop Now," "Learn More," or "Download the App."
It's no surprise that explainer videos have become the go-to format, with 73% of video marketers using them to demystify their products. Yet, for the 37% of marketers who haven't started with video, the biggest roadblock is simply not knowing where to begin. Nailing down your script is the perfect first step to clear that hurdle.
For a deeper dive into showcasing your products effectively, this guide on creating an interactive product demo video is a fantastic resource.
Before you roll the camera, running through a checklist can make sure all your bases are covered. It’s a simple way to stay organized and keep the project on track.
Essential Pre-Production Checklist
| Task | Key Objective | Pro Tip |
|---|---|---|
| Define Goal | Establish the single most important outcome for the video (e.g., sales, education). | Avoid trying to accomplish too much. Pick one primary goal and stick to it. |
| Identify Audience | Create a clear picture of the ideal viewer, including their pain points and desires. | Write a one-sentence description of your target customer to keep them top of mind. |
| Write Script | Develop a narrative with a hook, problem, solution, and clear call-to-action. | Read your script out loud. If it sounds robotic or clunky, rewrite it until it flows naturally. |
| Create Storyboard | Visually map out each shot to guide the filming process and ensure consistency. | Even simple stick figures are better than no storyboard at all. It helps everyone visualize the final product. |
| Scout Locations | Find and secure a filming location that has good lighting and minimal background noise. | Visit the location at the same time of day you plan to film to check for lighting and sound issues. |
| Gather Props & Gear | Ensure all products, props, cameras, lights, and microphones are ready and working. | Test all your gear the day before the shoot. A dead battery or corrupted SD card can derail everything. |
This checklist isn't about adding more work; it's about doing the right work upfront to save you a world of trouble during and after the shoot. A little planning goes a long way.
Choosing the Right Gear and Staging Your Scene
https://www.youtube.com/embed/NPrkxj2MyZI
Jumping into the technical side of video can feel like a huge hurdle, but you really don't need a Hollywood budget to get professional-looking results. The secret isn't about having the most expensive camera; it's about making smart choices with your gear and thoughtfully setting up your shot.
Honestly, a little knowledge about lighting and sound can elevate your video far more than a pricey camera ever could on its own. Think of your setup as the foundation. A shaky, poorly lit video with bad audio makes even the best product feel amateurish. On the flip side, a stable, well-lit shot with crisp sound instantly builds trust and keeps people watching.
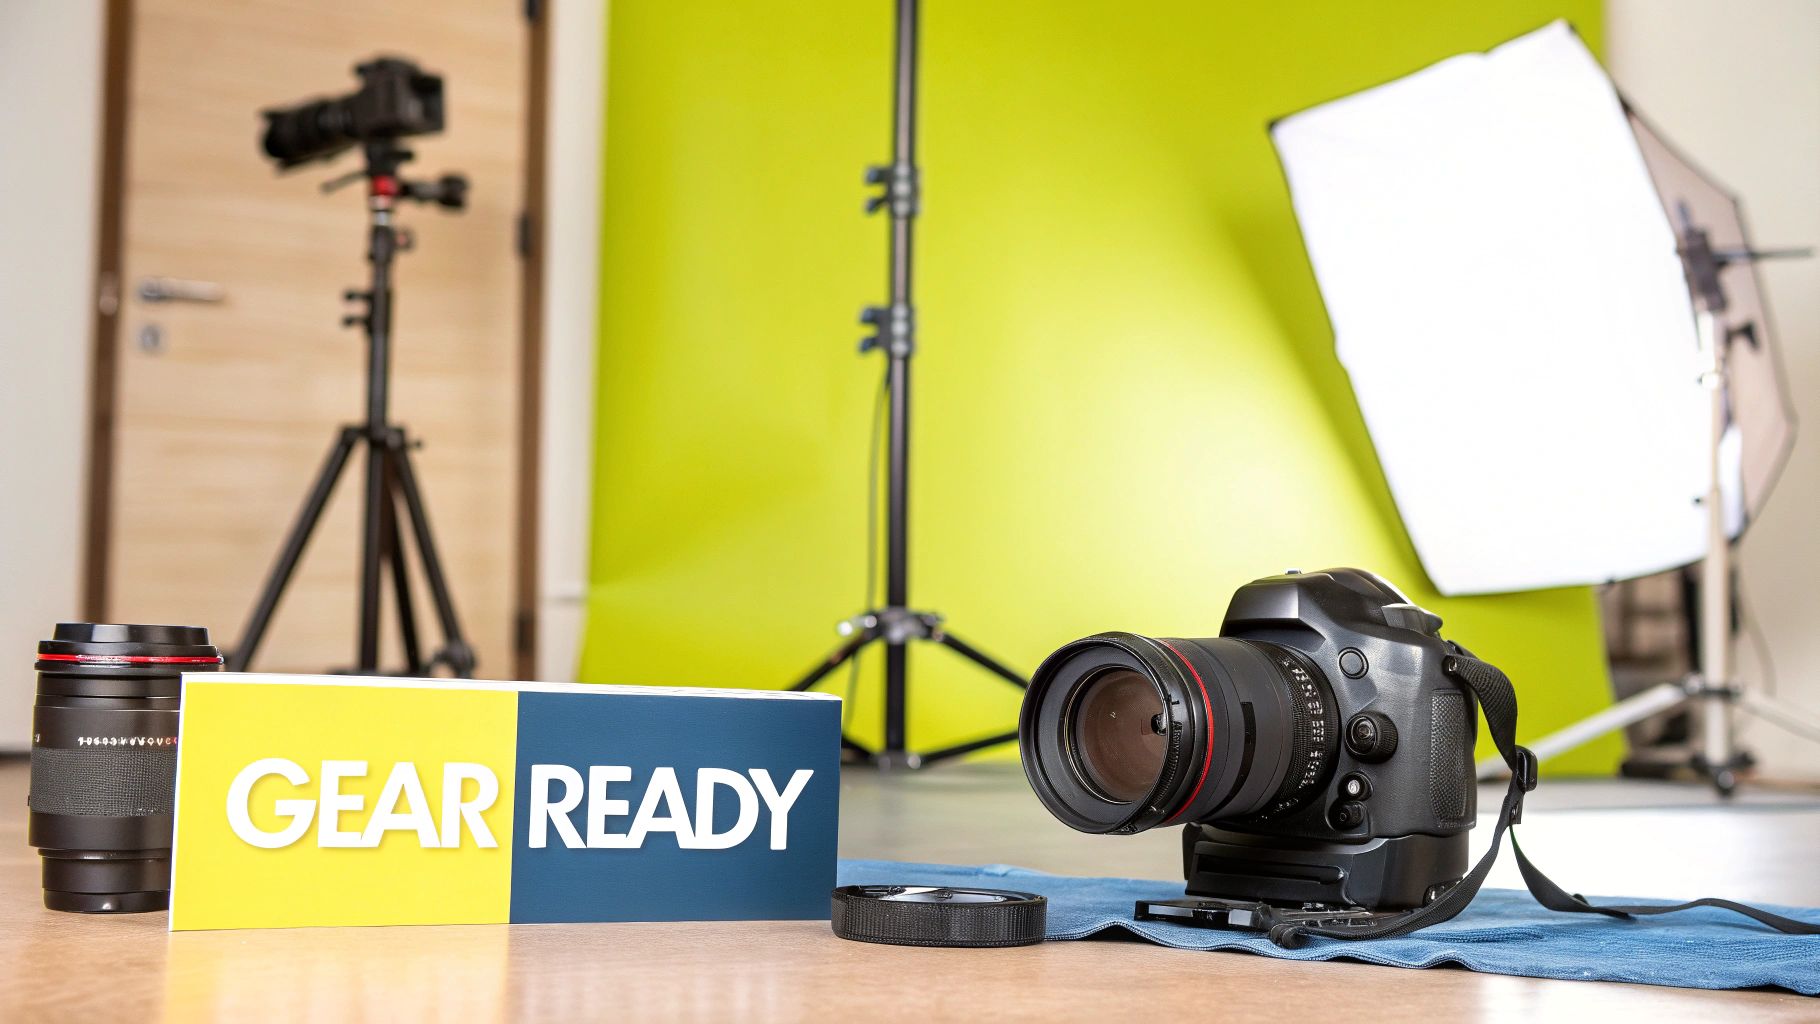
Gear Up Without Breaking the Bank
Let’s get one thing straight: the best camera is probably the one you already own. Modern smartphones shoot incredible 4K video, which is more than enough for what you need. Before you even think about a new DSLR, focus on a few key accessories that will give you the biggest bang for your buck.
-
A Solid Tripod: This is non-negotiable. Shaky footage is distracting and just looks unprofessional. A simple, sturdy tripod for your phone or camera provides instant stability, making every shot look intentional and clean.
-
An External Microphone: People are surprisingly forgiving of so-so video quality, but they have zero patience for bad audio. An inexpensive lavalier (lapel) mic or a small shotgun mic will capture clear sound and get rid of that echoey, distant noise you get from built-in mics.
-
Basic Lighting: Good lighting is your secret weapon. It completely changes how your product is perceived, highlighting its best features and giving everything a polished, professional look.
Your top priorities should always be stability and audio. A well-lit, steady video with crystal-clear sound shot on a smartphone will always outperform a shaky, poorly-lit video shot on a high-end camera.
Lighting Your Product Like a Pro
You don't need a complicated studio rig to make your product shine. The goal is simple: eliminate harsh shadows and show off your product's true form and texture. The most common and effective way to do this is with three-point lighting.
- Key Light: This is your main, brightest light. Position it at a 45-degree angle to your product to create the primary illumination.
- Fill Light: Placed on the opposite side, this softer light "fills in" the dark shadows created by the key light, revealing more detail.
- Backlight: This light goes behind the product, separating it from the background. It creates depth and that professional-looking outline or "rim light."
If a three-light kit isn't in the budget, don't sweat it. You can get fantastic results with just one light and a white foam board from a craft store. Place your light to one side (your key light), then use the foam board on the other side to bounce light back and soften the shadows (your fill). It's a classic trick that works wonders.
Staging a Scene That Tells a Story
Your background and props are more than just filler; they provide context and help tell your brand's story. A cluttered or distracting background pulls focus away from your product and can make it feel cheap.
My advice? Keep it simple. A clean, solid-colored background—like a white wall, a seamless paper roll, or even a wrinkle-free piece of fabric—is often your best bet. This makes your product the undeniable hero of the shot.
When it comes to props, make sure they have a purpose. Selling a high-end coffee grinder? Props like whole coffee beans and an elegant mug just make sense. Showcasing a rugged outdoor backpack? Staging it with a compass and a map adds to the adventure narrative. Every prop should enhance the story, not just create visual noise.
Getting these visual details right is more than just making a pretty video; it's a critical part of Shopify conversion rate optimization that directly impacts how customers perceive your brand and whether they decide to buy.
Filming Techniques for Dynamic Product Shots
Alright, your plan is solid and the scene is set. Now for the fun part—bringing your product to life on camera. The goal isn't just to point and shoot. You're trying to capture footage that's clean, engaging, and ultimately, persuasive. How you frame the product and move the camera completely changes the story you tell.
This is where you need to be intentional with every single shot. Each angle, every subtle movement, should have a clear purpose. It’s all about guiding the viewer’s eye and building a visual story that makes your product look absolutely essential.
Mastering Your Camera Angles
The camera angles you choose have a huge impact on how someone perceives your product. If you just stick to one angle, your video will feel flat and, frankly, a bit boring. I always recommend capturing way more variety than you think you’ll need; it gives you so much more creative freedom when you sit down to edit.
-
The Wide Shot: Think of this as your establishing shot. It shows the product in its natural habitat, giving the viewer context. For a new tent, this would be a shot of it set up in a beautiful campsite. It immediately answers the question, "What is this, and where would I use it?"
-
The Medium Shot: This is your go-to for demonstrations. It’s close enough to see the product clearly but wide enough to show someone interacting with it. For that tent, this is where you'd show someone easily unzipping the door or rolling up a window flap.
-
The Close-Up (or Macro Shot): This is where the magic happens. Get in tight to show off the details that scream quality. Think of the rugged, waterproof zipper on that tent, the reinforced stitching on a seam, or the texture of the durable fabric. These shots communicate craftsmanship without you having to say a word.
Creating Smooth and Stable Movement
Nothing kills a video's vibe faster than shaky, jarring camera movements. It just looks unprofessional. Smooth, deliberate motion, on the other hand, adds a layer of polish that can make your video look incredibly high-end.
A tripod is non-negotiable for any static shot—it guarantees perfect stability. But what about when you need to move the camera? You don't need a thousand-dollar gimbal. For a simple sliding shot, try placing your camera on a folded towel or a piece of cardboard on a smooth table. Gently pull it across the surface for a surprisingly slick result that mimics a professional camera slider.
When you do move the camera, keep it slow and purposeful. A gentle pan across the product or a slow tilt up to reveal a key feature feels cinematic. It pulls the viewer in, whereas jerky, fast movements just push them away.
Demonstrating Your Product Naturally
The whole reason you're making a video is to show your product in action. So, make it look natural! Your demonstration should feel authentic and effortless, helping the viewer picture themselves using it. Stiff, robotic movements are a dead giveaway of a staged ad.
If you’re the one on camera, just interact with the product like a normal person. Selling a new pour-over coffee maker? Don't just point to the filter and the carafe. Actually grind the beans, pour the hot water in a slow spiral, and capture the steam rising from a freshly brewed cup. This real-world application is far more compelling than a dry list of features.
This is how you turn a simple demo into a relatable experience. The viewer doesn't just see the coffee maker; they can almost smell the coffee.
The Essential Shot List for a Complete Story
To avoid getting to the editing room and realizing you missed something crucial, it helps to work from a mental checklist. Nailing a variety of shots ensures your final video flows well and tells the whole story.
Before you wrap, make sure you have:
- An Establishing Shot: The wide view to set the scene.
- Product in Action: Multiple medium shots showing the product being used from a few different angles.
- Hero Shots: A few flattering, well-lit close-ups of the product looking its best, highlighting your branding.
- Detail Shots: Macro footage of the unique features, materials, or textures that make it special.
- A Human Element: Shots of hands interacting with the product or a smiling face showing the positive result.
By gathering these core building blocks, you give yourself everything you need to assemble a powerful and engaging product video that actually drives sales.
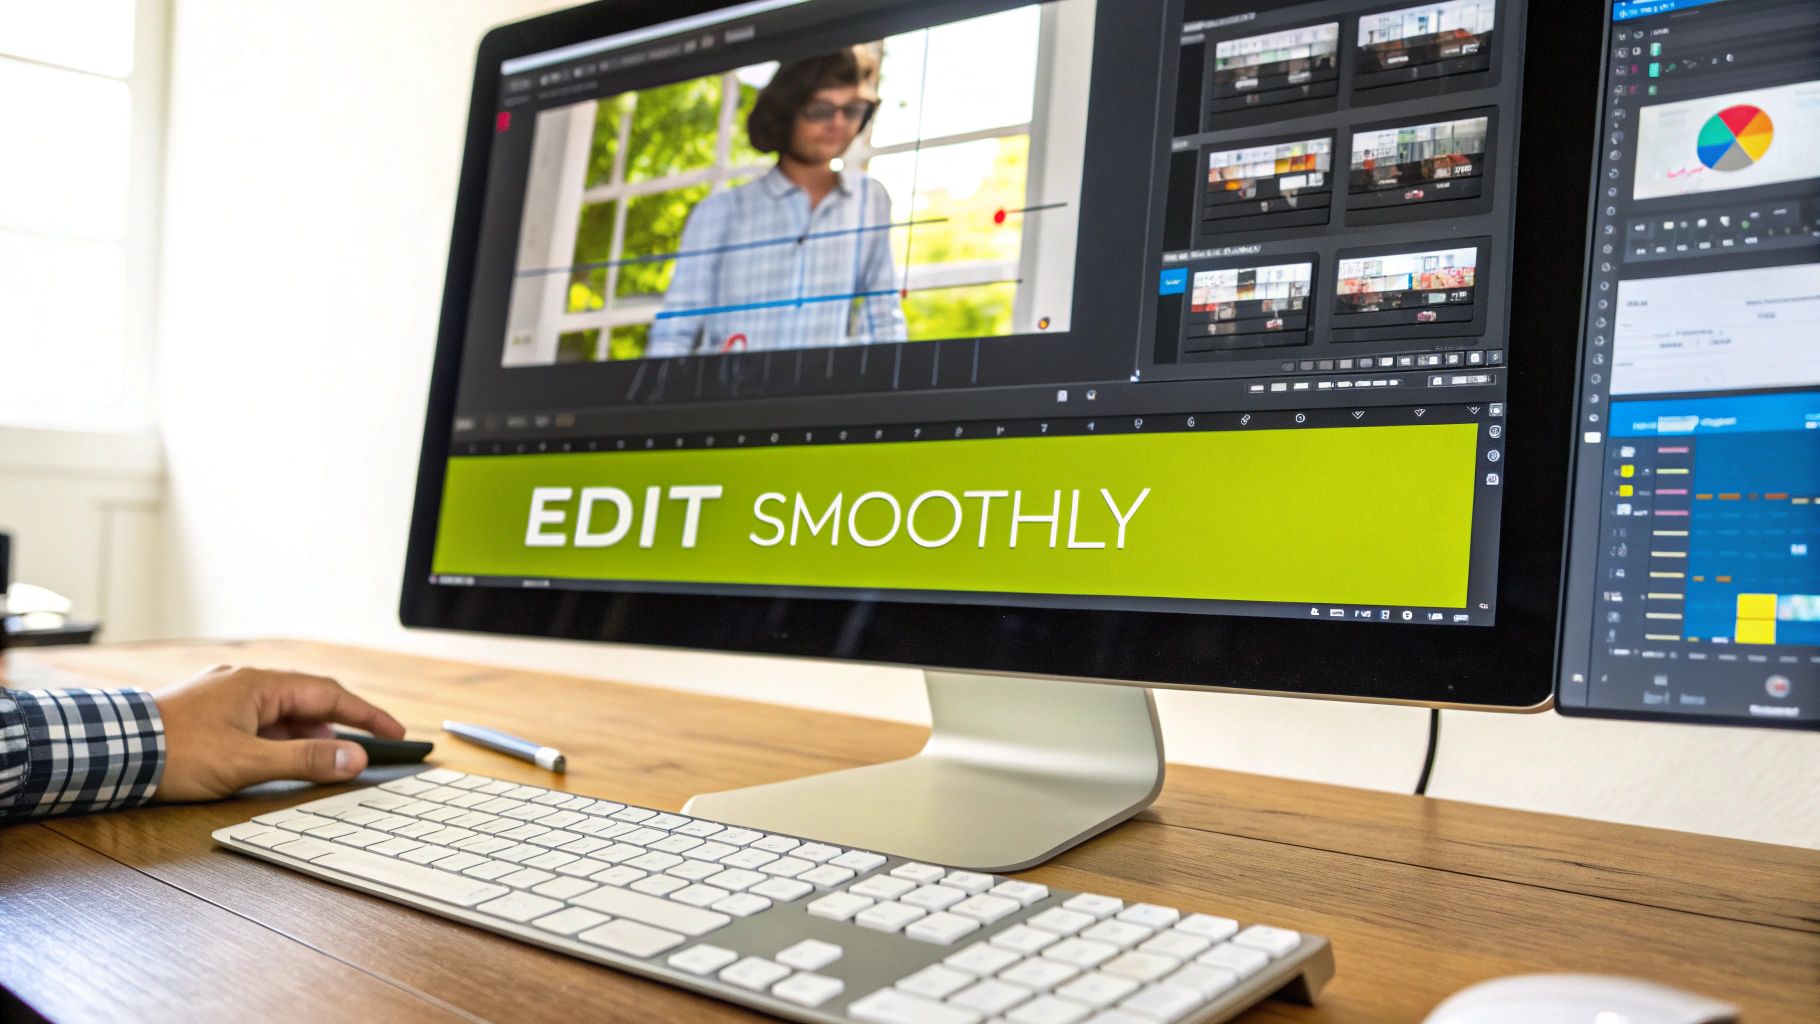
Turning Your Raw Footage Into a Polished Final Video
This is where the magic really happens. You've got all these raw clips, different camera angles, and audio files—now it's time to stitch them together into a story that actually sells. Think of yourself as a sculptor; you’re chipping away all the rough, unnecessary bits to reveal the final masterpiece.
Editing is so much more than just cutting out the bloopers. It’s how you set the pace, build a feeling around your product, and make sure your core message lands perfectly. A sharp edit guides your customer’s eye exactly where you want it to go, making your product feel exciting and essential.
Choosing Your Editing Toolkit
Before you can start piecing your video together, you need the right software. The great news is, there are fantastic options no matter your budget—from surprisingly powerful free tools to the same professional suites the pros use. Don't feel like you need the most complex, expensive option right away. The best tool is the one that lets you bring your vision to life without getting in your way.
To help you get started, I've put together a quick comparison of a few popular choices that are great for e-commerce brands.
Editing Software Comparison for Beginners
| Software | Best For | Price | Key Feature |
|---|---|---|---|
| DaVinci Resolve | Beginners who want a powerful, professional-level tool to grow into. | Free version available | All-in-one editing, color correction, and audio post-production. |
| CapCut | Quick social media videos and getting started with zero budget. | Free | Extremely intuitive interface and viral-ready templates. |
| Adobe Premiere Pro | Brands serious about creating high-quality, polished video content. | Subscription | Industry-standard tool with endless features and integrations. |
| Descript | Editing dialogue-heavy videos quickly and easily. | Free & Paid Tiers | Lets you edit video by simply editing the text transcript. |
Ultimately, the software you choose is less important than just picking one and sticking with it. Every program has its own workflow, and you'll learn much faster by mastering one tool instead of bouncing between several.
Assembling Your Story on the Timeline
Once your footage is imported, the first thing to do is build a "rough cut." This is your first draft of the story. Just drag your best takes onto the timeline in the order you planned in your script. Don't stress about getting the timing perfect just yet—the goal here is simply to get the basic structure in place.
I always start with the most captivating shot to create a strong hook. From there, lay down the clips that show the customer's problem, introduce your product as the hero, and then walk through its main benefits. This initial assembly is the skeleton of your video.
Now, you can start refining the rhythm. Trim the beginning and end of each clip to cut out any dead air or awkward moments. Pacing is crucial. A series of quick cuts can build excitement, while letting a shot linger can add weight to an important detail. Your goal is to make the transitions feel so smooth that the viewer doesn't even notice them.
A great edit doesn't just show what happened; it controls the flow of information and emotion. By carefully selecting and trimming each shot, you create a rhythm that keeps the viewer engaged from the first second to the last.
Enhancing Your Video with Sound and Graphics
With the visual story locked in, it's time to bring it to life with audio and text. Sound is easily half of the video experience. The right background music can completely shift the mood, making your product feel aspirational, trustworthy, or fun.
Just make sure you use royalty-free music from a good source to avoid copyright headaches down the road. When you add the track, take a moment to adjust the volume so it sits nicely in the background without drowning out any important product sounds or voiceover. This kind of professional polish has a real impact on your store's performance; it's a small but vital piece of your overall Shopify performance optimization.
Simple text overlays are your secret weapon for reinforcing key messages. Use them to:
- Call out specific features or benefits.
- Display your product's name and your website URL.
- Add a clear, compelling call-to-action (CTA) at the end.
Just keep the text clean, easy to read, and consistent with your brand's fonts and colors.
Shoppers' expectations are always rising. One recent study found that 78% of consumers want to see more video content from brands, and 58% are more likely to buy from companies that use more advanced video features. As you can see from these evolving video marketing statistics and consumer trends, video isn't just a nice-to-have anymore—it's a must.
Common Questions About Product Video Creation
Once you decide to jump into product videos, a few questions always come up. I see them time and time again. Getting these sorted out early on saves a ton of headaches and helps you avoid the common pitfalls that catch most people out.
We'll cover everything from how long your video should be to what gear you actually need. Think of this as the cheat sheet I wish I had when I first started.
How Long Should a Product Video Be?
This is the big one, and the honest answer is it completely depends on where you're putting the video. There’s no magic number, but there are some solid rules of thumb that work.
For social media feeds on platforms like Instagram or TikTok, you have to be quick. Really quick. We’re talking 15 to 60 seconds max. Your only job is to stop their scroll, hit them with the most important info, and get out.
When a customer is on your actual product page or watching on YouTube, they're already invested. Here, you can stretch it out a bit. I’ve found that 1 to 3 minutes is the sweet spot to show off the best features and really sell the benefits without boring them.
The golden rule is simple: be as short as you can be while still being effective. No matter the total length, always put your best stuff in the first 3-5 seconds to hook them.
Do I Need an Expensive Camera?
Not at all. In fact, obsessing over cameras is one of the biggest rookie mistakes I see. The smartphone in your pocket right now is more than capable of shooting beautiful, high-quality video that's perfect for what you need.
Focus your budget and attention on lighting and audio instead. These two things have a way bigger impact on how professional your video looks and feels than the camera ever will. A basic, affordable lighting setup and a small external microphone will instantly elevate your game.
Oh, and get a tripod. It’s non-negotiable. It keeps your shots stable, which makes everything look more deliberate and polished. A steady shot from a smartphone looks a thousand times better than a shaky one from a fancy cinema camera.
What Are the Biggest Mistakes to Avoid?
Most product videos that fall flat do so for one of a few reasons. The good news? They're all completely avoidable if you just know what to look for.
- Terrible Audio: People will forgive a slightly grainy video, but they will not tolerate bad sound. If your audio is echoey, muffled, or full of static, they’re gone. It just screams amateur. An external mic is a must.
- Awful Lighting: Dark, shadowy lighting makes your product look cheap and unappealing. You need to light it well, ideally from a few different angles, so customers can see the texture, color, and quality.
- No Clear Call-to-Action (CTA): You can't just end the video and hope people know what to do next. You have to tell them! Finish with a clear, direct command like "Shop the collection now" or "Click the link in our bio for 10% off."
How Can I Optimize My Video for SEO?
Getting your video seen on Google and YouTube comes down to a bit of SEO work. It starts with a title that includes your main keyword and a detailed description that actually explains what's in the video. Using relevant tags helps search algorithms understand your content, too.
Here’s a pro tip: upload a full transcript or closed captions. This gives search engines a text version of your entire video to crawl and index, which can give your visibility a serious boost. For a deeper dive, check out our guide on https://scaleshopify.com/2024/12/06/shopify-seo-best-practices/.
Finally, don’t neglect your thumbnail. A bright, clear, and compelling custom thumbnail can massively improve your click-through rate, which tells the platforms that your content is worth watching. For more great tips, I often recommend resources like Clipbot's video creation blog.