

So, what exactly is Shopify theme development? At its core, it's about building a unique storefront from the ground up using a mix of Liquid, HTML, CSS, and JavaScript. The process takes you from setting up a local development environment with Shopify CLI to structuring your theme, writing the code, and finally pushing it live. This is how you create those one-of-a-kind, performance-focused ecommerce sites that stand out from the crowd.
Setting Up Your Development Environment
Before you even think about writing code, you need a solid development environment. This is your workshop. A professional setup isn't just about installing tools; it's about mastering them to create a seamless workflow. The key here is using Shopify CLI to mimic a live store on your local machine, complete with hot reloading so you can see changes instantly.
Forget about editing a theme live on a store. That’s a recipe for disaster. The professional approach is to start fresh by initializing a new theme. I almost always recommend using Shopify's own Dawn theme as a starting point. It's clean, well-structured, and gives you a fantastic foundation to build upon. This is the difference between a side project and a professional build—it lets you develop, test, and debug quickly and confidently.
To get started, you'll need a few essential tools. Each one plays a specific role in bringing your theme to life.
Essential Tools for Shopify Theme Development
A summary of the core tools and their roles in building a Shopify theme.
| Tool | Purpose | Why It's Important |
|---|---|---|
| Shopify CLI | The command-line tool for interacting with Shopify. | It lets you create, serve, and deploy themes from your local machine, creating an efficient development loop. |
| Node.js | A JavaScript runtime environment. | Shopify CLI is built on Node.js, so it's a mandatory prerequisite for running the tool. |
| Git & GitHub | Version control system and hosting service. | Essential for tracking changes, collaborating with others, and maintaining a history of your project. |
| Text Editor | A code editor like VS Code. | This is where you'll write all your code. A good editor improves productivity with features like syntax highlighting and extensions. |
These tools form the backbone of any modern Shopify development workflow. Mastering them will make your entire process smoother and more professional.
Understanding the Theme Structure
Once you’ve initialized your new theme, you'll find a standard set of folders. Knowing what each one does and how they all work together is absolutely critical. It’s the blueprint of your entire storefront.
-
layout/: This is where you'll findtheme.liquid. Think of it as the master key—the one file that wraps every single page on your site. It contains your<head>, header, footer, and the magic tag that renders the content for the specific page being viewed. -
templates/: These are the top-level JSON files that define the structure for different page types, like your homepage, product pages (product.json), or collection pages (collection.json). They basically tell Shopify which sections to load on a particular page. -
sections/: This is where the real action happens in modern Shopify themes. Sections are modular, reusable.liquidfiles that merchants can add, remove, and customize directly in the Theme Editor. This gives them control without needing to touch a line of code. -
snippets/: For smaller, reusable bits of code that don't need to be configurable by the merchant. Think of things like a product card or social media icons. You'll call these from your sections or templates. -
assets/: The home for all your static files. This is where you’ll put your CSS, JavaScript, images, and fonts. -
config/: This folder containssettings_schema.json, which defines the global options you see in the "Theme settings" area of the editor. This is for store-wide settings like brand colors or typography choices.
This diagram helps visualize how these pieces fit into the overall development lifecycle, from initial concept to the final launch.
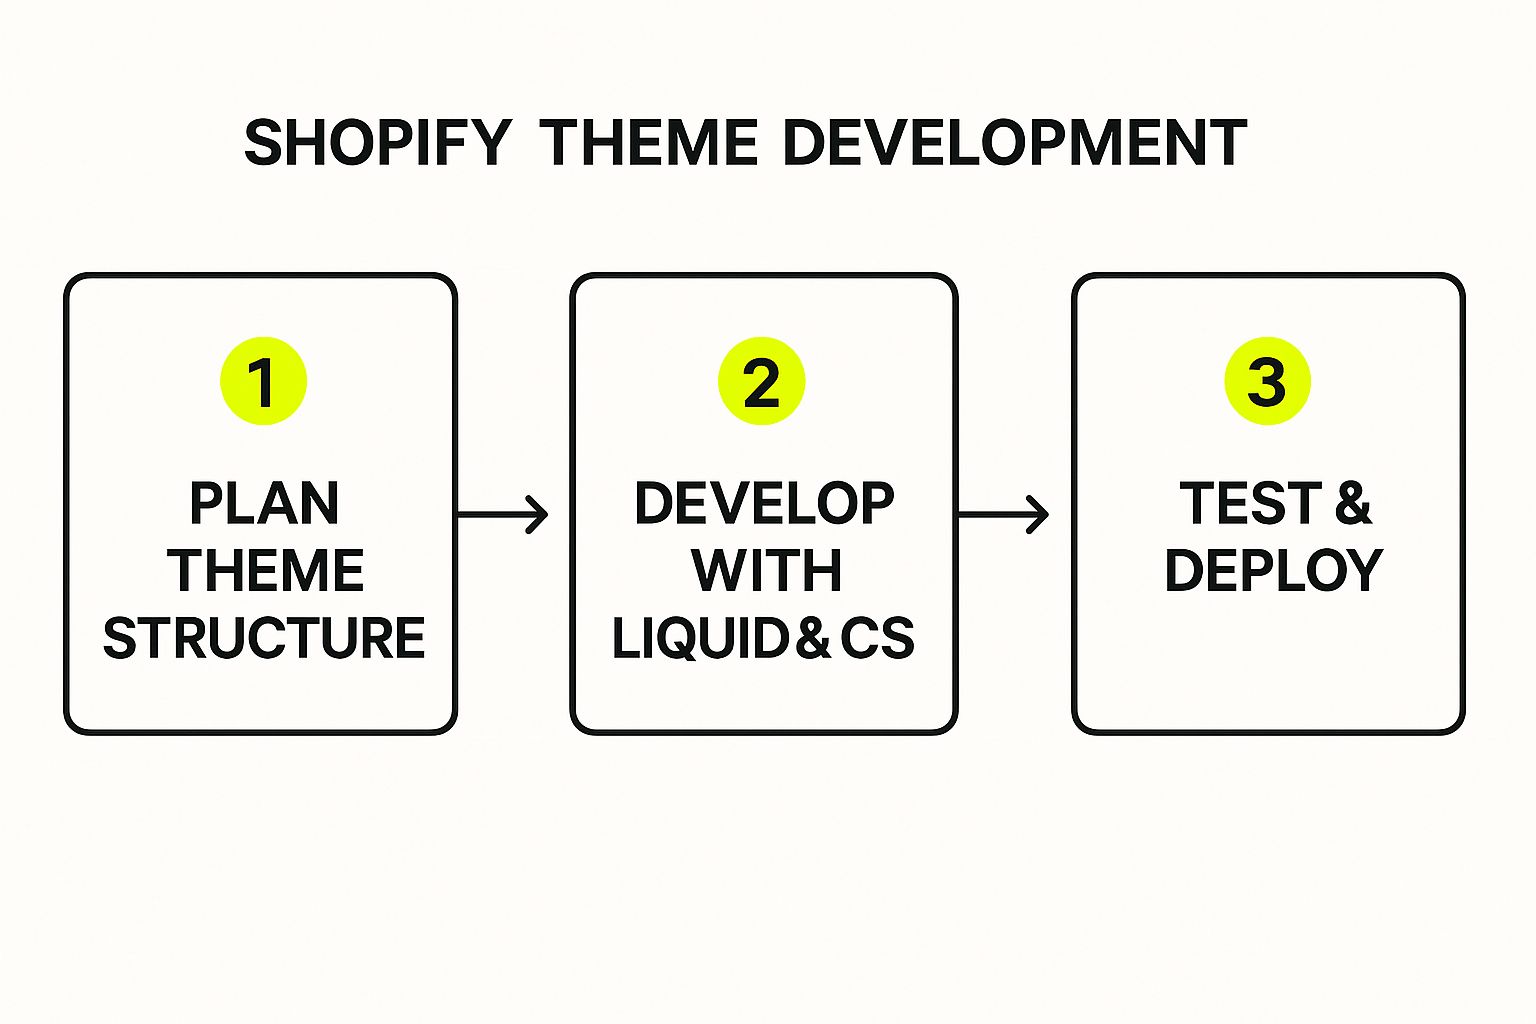
As you can see, a successful project moves logically from planning and structuring your theme to the hands-on coding, and then to thorough testing before you ever think about deploying.
Why Build a Custom Theme?
With over 200 high-quality themes in the Shopify Theme Store, you might wonder why anyone would build one from scratch. The answer comes down to control. Custom themes give you total freedom to express a brand's unique identity and squeeze every last drop of performance out of the site.
While it's true that only about 1% of Shopify users go for a fully custom build, the control it offers can be a massive competitive edge. The investment can be significant, with costs ranging anywhere from $500 to over $20,000, depending on the complexity. As you can learn from this breakdown of theme development costs at Shero Commerce, you're paying for a truly unique user experience.
Key Takeaway: A properly configured local environment using Shopify CLI is the non-negotiable first step. When you combine that with a deep understanding of the theme file structure, you have everything you need to build high-quality, scalable, and maintainable Shopify themes like a pro.
Understanding Shopify's Language: Liquid

At the heart of every Shopify theme is Liquid. It’s an open-source templating language created by Shopify, and it’s the magic that connects your static HTML files to your store's dynamic data. Without Liquid, your theme would just be a pretty but lifeless shell, unable to pull in products, prices, or anything else from your Shopify admin.
Think of it like this: HTML builds the skeleton of your site, and CSS adds the style. But Liquid is the nervous system that brings it all to life. It fetches real-time info—like a product's title or a collection's image—and injects it right where you need it. This is the absolute core of all Shopify theme development.
The Core Components of Liquid
To get fluent in Liquid, you really only need to get a handle on its three main building blocks: objects, tags, and filters. These three work in tandem to let you pull in store data and control exactly how it shows up on the page.
-
Objects: These are your direct lines to data. They're basically placeholders that output information from your Shopify admin. You'll always see them wrapped in double curly braces, like
{{ product.title }}. This tells Shopify, "Go get the title for this product and put it here." -
Tags: Tags are all about logic. They create the control flow for your templates, telling the page what to do and when. You’ll find them wrapped in curly braces and percent signs, like
{% if user_is_logged_in %}. They don't output anything you can see; they just make decisions behind the scenes. -
Filters: These are simple but powerful tools for tweaking the output of your objects. You use them inside an object with a pipe character
|. For example,{{ 'Welcome!' | upcase }}would transform the text and output "WELCOME!".
Getting comfortable with how these three pieces interact is the first major hurdle in writing clean, professional Liquid code.
Working with Essential Liquid Objects
In any Shopify theme, some objects are available everywhere (globally), while others only pop up on specific templates. Knowing the most common ones is the key to building anything useful.
The product object, for instance, is your go-to on product pages. It holds everything about a single product, from product.title and product.price to all of its product.images.
{{ product.title }}
{{ product.price | money }}
{{ product.description }}
Similarly, the collection object does the same job but for groups of products. On a collection page, you can use it to grab the collection.title or, more importantly, to loop through all the products inside it.
And then you have the cart object, which contains all the details about a customer's shopping cart. You can use it to show the total price with {{ cart.total_price }} or to list out every item the customer has added. These objects are the foundation you'll build on time and time again. To really nail these fundamentals, check out this helpful Shopify Liquid syntax guide for a deeper dive.
Creating Logic with Control Flow Tags
This is where your theme starts to feel intelligent. Control flow tags like if and for let you build dynamic layouts that adapt to different situations.
A for loop is your best friend when you need to repeat something for every item in a list, like showing all the products in a collection. You wouldn't want to code each one by hand, right?
Instead, you’d write a simple loop to do the heavy lifting:
{% for product in collection.products %}
{{ product.title }}
{% endfor %}
This tiny snippet automatically creates a "product card" for every single item in the collection, whether there are 5 or 50.
Pro Tip: When looping through products on a collection page, always add a
limitparameter, like{% for product in collection.products limit: 12 %}. This is a huge performance win, preventing your page from trying to load hundreds of products at once.
Conditional logic with if/else statements is just as crucial. It lets you show or hide content based on specific rules. A classic example is displaying a "Sale" badge only when a product is actually on sale.
{% if product.compare_at_price > product.price %}
Sale!
{% endif %}
Here, we're just checking if the original price (compare_at_price) is greater than the current price. If it is, the badge appears. It’s this kind of logic that makes a theme feel smart and polished.
Modifying Output with Powerful Filters
Filters are the secret weapon in your Liquid arsenal. They let you modify data right before it's displayed, saving you from writing tons of complicated code. They can do everything from formatting currency to resizing images on the fly.
Here are a few you'll use constantly:
money: Automatically formats a number into a price, using the store's currency settings.{{ product.price | money }}becomes something like$29.99.image_url: Generates a CDN URL for an image and lets you specify dimensions. This is absolutely essential for creating responsive, fast-loading images.date: Turns a standard timestamp into a human-readable format.{{ article.published_at | date: "%B %d, %Y" }}becomes "January 21, 2025".handleize: Converts a string into a URL-friendly "handle." For example, "My Awesome T-Shirt" becomesmy-awesome-t-shirt.
When you start combining objects, tags, and filters, you move beyond just building pages. You start engineering complex, data-driven experiences that truly set a store apart.
Building Flexible Themes with JSON Templates
If you’ve been around Shopify development for a while, you know the seismic shift that was Online Store 2.0. The old way of building themes—with rigid, hardcoded templates—is gone. In its place, we have a far more modular and powerful system driven by JSON templates.
This change completely redefines how pages are constructed, and it puts an incredible amount of control right where it belongs: in the hands of the merchant.
Gone are the days of wrestling with a single, monolithic product.liquid file. Now, a theme uses a simple product.json file that acts more like an orchestrator. This file dictates which sections appear on a page and in what order. For a merchant, this means they can add, remove, and reorder entire content blocks with a simple drag-and-drop in the Theme Editor. If you want to build a high-quality, sellable theme today, this architecture is non-negotiable.
The Real Power is in Sections and Schemas
At the heart of this new world are sections. Think of them as reusable, self-contained content blocks. Each section is its own .liquid file that contains the HTML, Liquid logic, and a special {% schema %} tag.
The schema is where the magic really happens. It’s a block of JSON that defines the settings a merchant can customize for that specific section.
Let’s say you’re building an "Image with Text" block or a "Testimonial Carousel." The schema is the control panel you build for the merchant. By defining settings inside the {% schema %} tags, you let them change text, upload images, pick brand colors, or even select a specific product to feature—all without ever touching a line of code.
Here's a look at what a bare-bones schema for an "Announcement Bar" section might look like:
{% schema %}
{
"name": "Announcement Bar",
"settings": [
{
"type": "text",
"id": "announcement_text",
"label": "Announcement Text",
"default": "Welcome to our store!"
},
{
"type": "color",
"id": "background_color",
"label": "Background Color",
"default": "#000000"
}
]
}
{% endschema %}
This simple chunk of JSON instantly creates two fields in the Theme Editor: a text box and a color picker. This is what separates modern, flexible theme development from the static methods of the past.
Unlocking Customization with Input Types
The schema gives you a whole toolbox of input types to work with. Getting comfortable with these is the key to creating a truly customizable experience for the store owner.
You'll find yourself reaching for these over and over again:
text&richtext: Your go-to for single lines of text or full-blown text blocks with basic formatting.image_picker: Lets merchants upload a new image or just grab one from their media library.color: A simple color swatch picker, essential for brand alignment.product: A fantastic input that lets a merchant select any product from their catalog to feature.checkbox: A simple true/false toggle. Perfect for turning features on or off within a section.range: A slider for numbers. I use this all the time for things like setting the maximum width of an image or adjusting spacing.
By mixing and matching these, you can build incredibly versatile sections. A "Featured Collection" section, for example, could use a collection picker, a range slider to set how many products to show, and a checkbox to toggle the "View All" button. Managing these inputs is a core skill, but it's also important to understand how they fit into the bigger picture. For a deeper dive, learning about theme dependencies in Shopify can provide some valuable context.
Key Insight: The goal of modern Shopify theme development isn't just to build a pretty storefront. It's to build a flexible system. Every setting you add to a section's schema is another piece of control you're handing to the merchant, which drastically cuts down on their need to hire a developer for small tweaks.
This modular approach has a huge business impact. The demand for high-quality, customizable themes is massive. In fact, "Shopify themes" was one of the platform's top search terms, driving an estimated 2.7 million visits in just six months of 2020. With premium themes often selling for $120 to $200, they're an incredibly cost-effective option for merchants compared to a fully custom build. You can see more on these Shopify theme statistics to get a sense of the market.
At the end of the day, embracing this JSON-driven, section-based architecture isn't optional anymore—it’s the standard. It makes your themes easier for merchants to use and ensures they are future-proof and aligned with where Shopify is headed.
Integrating CSS and JavaScript for Interactivity

The image above shows just how powerful the Shopify CLI is for modern theme development. Getting comfortable with commands like shopify theme serve and shopify theme push is a game-changer. It makes managing your assets and pushing updates feel seamless.
But a theme is more than its structure and data. The real magic happens when you bring it to life with style and interaction. This is where CSS and JavaScript come in, turning a static blueprint into a dynamic storefront that captures attention and guides customers.
Great Shopify theme development isn't just about writing code—it’s about organizing it smartly for future updates and loading it efficiently for top-notch performance.
Structuring Your Stylesheets for Success
Let's be honest, messy CSS can turn a project into a tangled web of frustration. A clean, logical structure is non-negotiable if you want to keep your sanity and build something maintainable. Most modern themes, including Shopify's own Dawn theme, lean on Sass (Syntactically Awesome Style Sheets) to keep things organized.
A tried-and-true strategy is to use Sass partials. Instead of wrestling with a single, gigantic CSS file, you can break down your styles into smaller, focused .scss files. Think of them as building blocks. You could have separate partials for your header, product cards, buttons—you name it.
These individual files are then pulled into a main stylesheet, often named something like base.css.scss. This file compiles everything into a single, browser-friendly CSS file. It's an approach that keeps your code tidy and makes finding or tweaking styles a breeze.
To get your final stylesheet into the theme.liquid layout, you'll use a handy Liquid filter:
{{ 'base.css' | asset_url | stylesheet_tag }}
This one line is doing a lot of heavy lifting:
- It grabs your compiled
base.cssfile from theassetsfolder. - The
asset_urlfilter creates the correct CDN link for that file. - Finally,
stylesheet_tagwraps it all up in a proper<link>tag.
Bringing Your Theme to Life with JavaScript
JavaScript is the engine behind all the interactive elements customers love, from simple image sliders to complex product selectors. And just like with CSS, organization and performance are everything.
A classic example is building a dynamic variant selector. When a customer clicks a different size or color, you need to instantly update the product image, price, and even the "Add to Cart" button's availability. This usually involves writing JavaScript that listens for those clicks, fetches the new variant's data, and updates the page content without a reload.
You can also use JavaScript to add powerful features like live customer support. If you want to dive deeper, you can learn about integrating a chat widget and how it can boost engagement.
Key Takeaway: Performance is a feature, not an afterthought. Slow-loading scripts have a real, measurable impact on your bottom line. Even a one-second delay in page load can cause a 7% drop in conversions.
To prevent this, you have to be smart about how you load your JavaScript. In your theme.liquid file, place your script tags right before the closing </body> tag. More importantly, always use the defer attribute.
Using defer tells the browser to download the script in the background while it continues rendering the page. The script only runs after the HTML is fully parsed. This simple technique stops your JavaScript from blocking the initial page view, making your store feel noticeably faster to your customers. It's a small detail that separates amateur work from professional theme development.
Deploying Your Theme with Confidence

Okay, you've built your theme. Now comes the moment of truth: pushing it live. This can feel like the final boss battle of Shopify theme development, and for good reason. One wrong move could disrupt the customer experience, so a solid, repeatable deployment plan isn't just a nice-to-have—it's absolutely essential.
The secret is to make the whole process smooth and stress-free. You want to eliminate risk, and the best way to do that is by never working directly on the live theme. Seriously, don't do it. Instead, you'll push all your hard work to an unpublished copy. The Shopify CLI makes this simple with the shopify theme push command. This creates a safe staging area where you and the client can kick the tires on every change before a single customer sees it.
Adopting a Professional Deployment Workflow
Want to work like the pros? The next step is integrating version control, which almost always means using GitHub. Connecting your Shopify theme to a GitHub repository is a total game-changer, especially when working with a team. It gives you a complete, timestamped history of every single change, making it incredibly easy to see who changed what and, most importantly, roll back to a previous version if something breaks.
Once you have GitHub in place, you unlock the ability to set up a CI/CD (Continuous Integration/Continuous Deployment) pipeline. Picture this: you push your latest code to the main branch on GitHub, and a process automatically runs the shopify theme push command, deploying it to the correct staging theme on Shopify. This automation ensures a consistent, error-free deployment every single time. It's how high-performing dev teams operate.
Pro Tip: When you push your theme, always get in the habit of using the
--themeflag followed by the theme's specific ID, like this:shopify theme push --theme=123456789. This simple step prevents you from accidentally overwriting the wrong theme—a mistake that's easy to make when you're juggling multiple projects.
This careful deployment process is vital, whether you're building a theme from scratch or tackling a major store migration. If you're moving an entire store, this is just one piece of the puzzle. You can find out more about the whole shebang in our guide to a successful Shopify store migration.
The Final Pre-Launch Checklist
Before you get click-happy on that "Publish" button, you need to do one last, thorough quality check. What looks pixel-perfect on your giant monitor can easily fall apart on a small mobile screen, which is where a huge chunk of your traffic will come from.
Run through this quick checklist on the unpublished theme copy:
- Thorough Mobile Testing: Don't just resize your browser window. Actually check every key page—homepage, product, collection, cart—on different phones and tablets.
- Cross-Browser Verification: Fire up your theme in Chrome, Safari, and Firefox. You'd be surprised by the weird rendering issues that can pop up between browsers.
- Verify Theme Editor Settings: Go through every custom setting you built in the theme editor. Make sure every color picker, text field, and toggle switch works exactly as you intended.
- Check Analytics and Tracking: Confirm your analytics tags and tracking pixels are firing correctly. To make sure your data is reliable after launch, it helps to be aware of the 3 pitfalls of Shopify tracking.
This final sweep ensures you’re delivering quality work and that the launch goes off without a hitch. And the demand for this level of quality is only growing. With Shopify's revenue hitting $7.06 billion in 2023 and more stores opening every day, the need for skilled developers who know how to deploy flawlessly has never been greater.
Common Questions on Shopify Theme Development
As you get your hands dirty with Shopify theme development, you'll naturally run into a few common questions and roadblocks. It’s a rite of passage for everyone, from first-time builders to seasoned pros. Here are some straight answers to the things that tend to trip people up the most.
https://www.youtube.com/embed/JUKag5vy_uk
What’s the Difference Between a Section and a Snippet?
This is probably one of the first things you'll wonder about, and the answer really comes down to who gets to control what. The main difference is simple: sections are for merchants, and snippets are for developers.
Sections are the heart of modern Online Store 2.0 themes. Think of them as modular, reusable blocks of content that a store owner can add, reorder, or remove on a page right from the Shopify Theme Editor. For a file to work as a section, it needs a {% schema %} tag. This tag defines all the settings—like text boxes, image pickers, or color palettes—that the merchant sees and interacts with.
Snippets, on the other hand, are much simpler. They're just small, reusable chunks of code. You use the {% render 'your-snippet-name' %} tag to pull them into other files, like your sections or main templates.
The Key Distinction: Snippets don't have their own schema, so a merchant can't manage them directly in the Theme Editor. They’re a tool for you, the developer, to keep your code clean and DRY (Don't Repeat Yourself) by centralizing things like the HTML for a product card or a block of social media icons.
Here’s a practical way to think about it: You might build a "Featured Collection" section that lets the merchant pick which collection to display. Inside that section, you'd likely render a "product-card" snippet over and over to make sure every product looks consistent across the entire website.
How Do I Work with a Theme That Is Already Live?
Whatever you do, don't edit a live theme directly. It's one of the biggest and most common mistakes you can make, creating huge risks for the business. A single slip-up could break the storefront for real customers. A professional workflow is always built around safety.
The right way to do this is to always work on a copy. From the Shopify admin, just head to Online Store > Themes. Find the live theme, click the three-dot menu, and hit Duplicate. This creates a perfect, unpublished copy for you to work on safely.
With your duplicate ready, you can connect it to your local environment using the Shopify CLI.
- First, you'll need the ID of the theme copy you just made.
- In your terminal, run
shopify theme pull --theme THEME_IDto download all the theme files. - Make all your changes locally while running
shopify theme devto see a live preview. - Once you're happy with the changes, push them back up to the duplicated theme with
shopify theme push.
After pushing, you and the store owner can click around the duplicate theme's preview link to make sure everything is perfect. When it gets the green light, just hit "Publish" on the duplicated theme. Shopify will atomically swap it with the old live one, ensuring zero downtime for customers.
Can I Use JavaScript Frameworks Like React or Vue?
Yes, you definitely can, but you need to be strategic about it. You can't—and shouldn't—try to build an entire Shopify theme as a single-page application (SPA). Doing so would break compatibility with essential features like the Theme Editor and most third-party apps.
The best and most common approach is to use frameworks for specific, highly interactive components on a page. People often call this creating "islands of interactivity."
For example, you could build a complex product customizer with dozens of options as a React app. Or maybe you'd use Vue to create a slick, slide-out mini-cart. You would then "mount" that JavaScript app onto a specific element (like a <div>) that lives inside a normal Liquid section or template file.
This hybrid approach gives you the best of both worlds:
- You get to build the rich, dynamic user interfaces that modern frameworks are amazing for.
- The rest of the site remains a standard, server-rendered Shopify theme, which is critical for good SEO, fast initial page loads, and smooth integrations with the Shopify ecosystem.
This balanced strategy lets you enhance the user experience where it matters most, without giving up the stability and core functionality that makes Shopify so powerful for merchants. Mastering this is a hallmark of advanced Shopify theme development.
At E-commerce Dev Group, we build powerful, flexible themes designed to grow with your business. Whether you need a custom-built storefront or want to optimize your existing theme for higher conversions, our team has the expertise to make it happen. Find out how we can help you succeed at https://scaleshopify.com.