

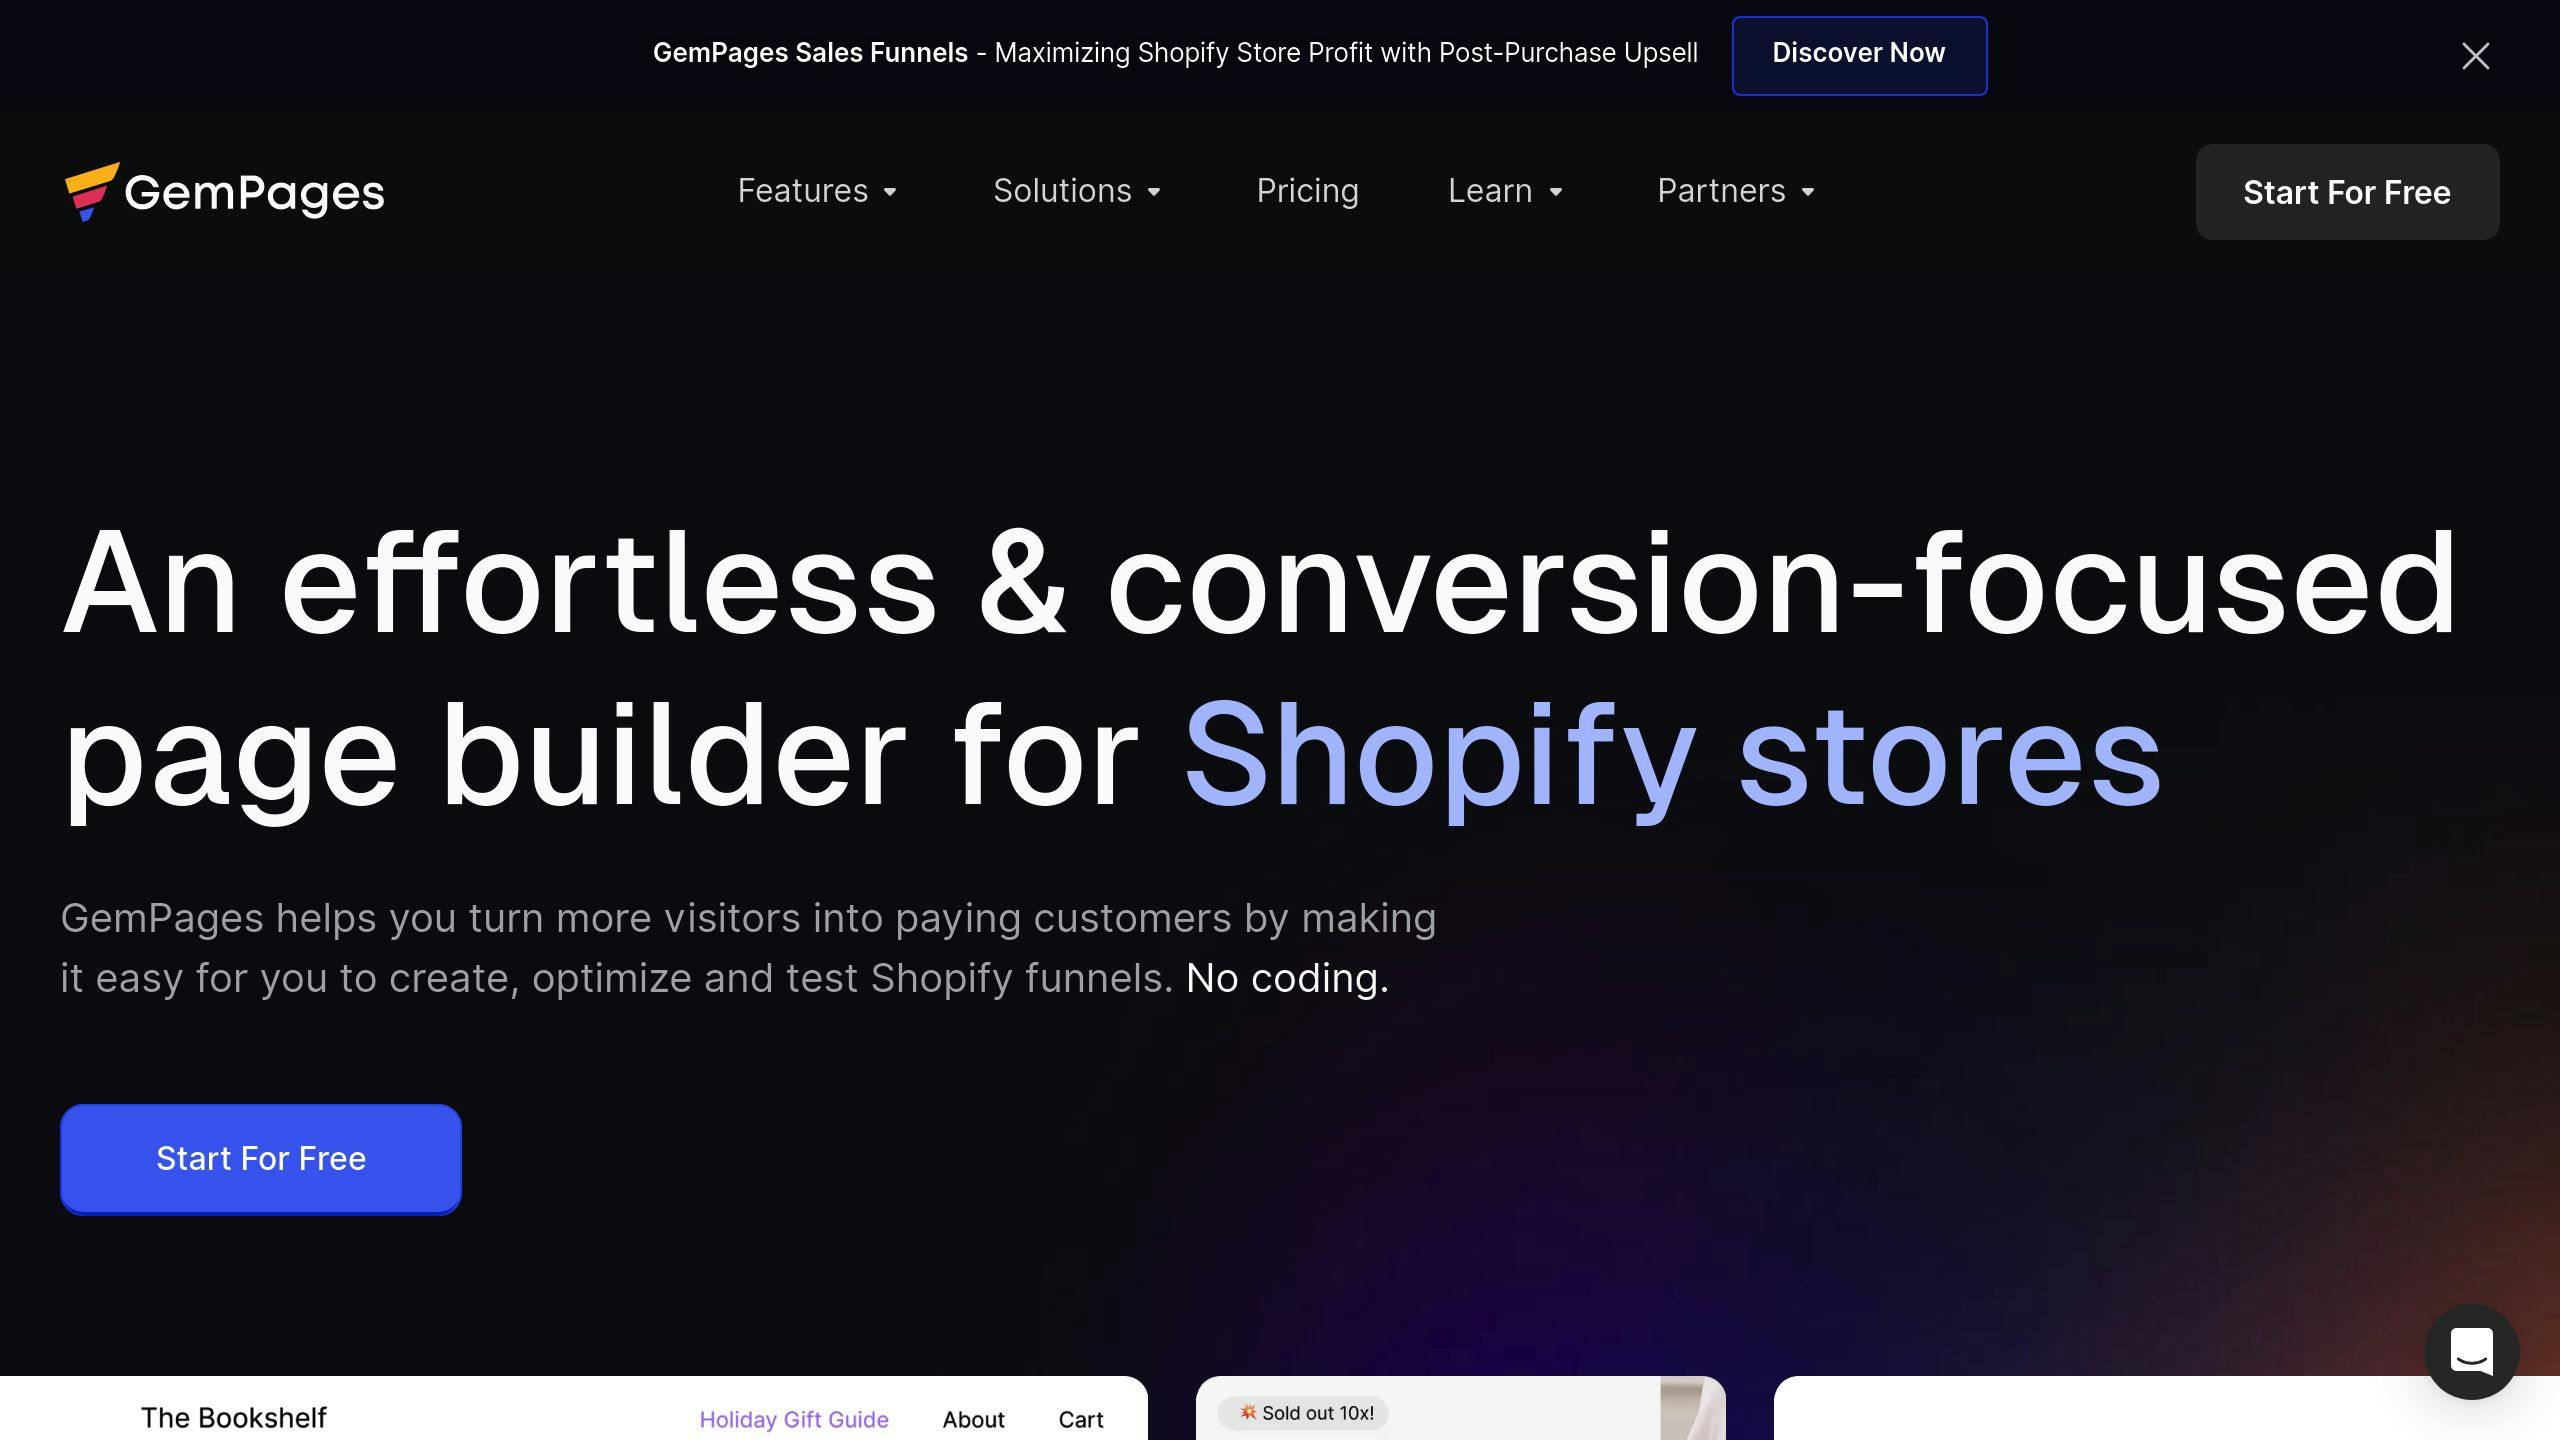
Customizing your Shopify theme can boost sales, improve user experience, and align your store with your brand. Shopify offers powerful tools, no-code platforms, and third-party solutions to help you create a professional, user-friendly store – no coding required. Here’s what you need to know:
Key Customization Tips:
- Backup Your Theme: Always duplicate your theme before making changes.
- Use Theme Settings: Adjust colors, fonts, and layouts to match your brand.
- Leverage Shopify’s Theme Editor: Customize headers, footers, and product sections.
- Try GemPages or No-Code Tools: Unlock advanced design options with drag-and-drop editors.
- Optimize for Mobile: Ensure fast load times, clear navigation, and touch-friendly buttons.
- Speed Up Your Store: Compress images, clean code, and use Shopify’s CDN.
- Pick the Right Theme: Choose one that fits your industry and supports mobile optimization.
- Use Pre-Built Sections: Save time with ready-to-use design components.
- Match Your Branding: Align colors, typography, and layouts with your brand identity.
- Keep Your Theme Updated: Regular updates ensure security and performance.
Quick Comparison Table:
| Customization Area | Focus | Benefit |
|---|---|---|
| Backup Theme | Prevent downtime | Safe testing environment |
| Mobile Optimization | Clear navigation, fast loading | Better user experience |
| Speed Optimization | Compress images, clean code | Higher conversions |
| No-Code Tools (GemPages) | Drag-and-drop design | Advanced layouts without coding |
| Branding | Colors, typography, layouts | Strong brand identity |
With these tips, you can build a Shopify store that’s fast, mobile-friendly, and tailored to your brand – all while staying competitive in 2025’s e-commerce landscape.
How to Add More Sections to Your Shopify Theme

1. Make a Copy of Your Theme Before Editing
Always back up your Shopify theme before making any changes. This simple step can save you from potential downtime and troubleshooting headaches.
Here’s how: In your Shopify admin, navigate to Online Store > Themes, click the three dots next to your theme, and choose Duplicate.
Creating a duplicate theme gives you a safe space to:
- Test new features, updates, or third-party app compatibility.
- Review how your store looks on mobile and check loading speeds.
- Make design adjustments without touching your live store.
- Keep a clean backup of your original design.
- Experiment with seasonal or promotional designs.
Using a duplicate ensures your live store stays polished and professional while you work on customizations. This approach minimizes risks and helps maintain a smooth shopping experience for your customers.
Once your backup is ready, you can dive into Shopify’s theme settings to explore customization options.
2. Learn How to Use Theme Settings
Theme settings are your go-to tools for customizing your store’s look and feel. To get started, head to Online Store > Themes > Customize, then click the ‘Theme settings’ gear icon.
With theme settings, you can tweak your store’s appearance without touching a single line of code:
- Visual Elements: Adjust your logo, colors, fonts, backgrounds, and buttons to match your brand’s style.
- Layout Controls: Fine-tune headers, footers, spacing, content width, and product grids to create a balanced design.
- Mobile Experience: Make sure your store looks great on mobile by optimizing menus, images, fonts, and button sizes.
Pro Tips:
- Use consistent spacing for a clean, organized layout.
- Check color contrast to ensure text readability and test your store’s loading speed after making changes.
For more advanced customization, you can try tools like GemPages. These third-party solutions let you expand your design options without needing coding skills.
Once you’re comfortable with theme settings, you can dive deeper using Shopify’s built-in Theme Editor for even more control.
3. Use Shopify’s Theme Editor for Customization
After tweaking the basic theme settings, Shopify’s Theme Editor gives you more control over your store’s design. You can access it by navigating to Online Store > Themes > Customize.
With the Theme Editor, you can fine-tune your store to match your brand while improving usability. Customize fixed elements like headers, footers, and navigation menus, as well as dynamic sections like product displays, promotional banners, and custom blocks.
You can also adjust global settings such as typography, colors, layout, and media to ensure your store’s design stays consistent across all pages. These tools make it easier to create a polished, unified look for your site.
Pro Tips for 2025
- Use the mobile/desktop preview toggle to check how your store looks on different devices.
- Take advantage of pre-built sections to maintain a consistent layout.
- Test your store’s speed after making significant changes to ensure it loads quickly.
While the Theme Editor is great for basic customizations, you might need extra tools for more advanced features. Focus on updates that improve the shopping experience rather than just making visual adjustments.
If you’re looking for even more design flexibility, tools like GemPages can be a game-changer. We’ll dive into that next.
4. Try GemPages for Advanced Design Options
GemPages gives Shopify store owners the tools to push beyond the limits of standard themes. It works seamlessly with Shopify’s Online Store 2.0 and modern themes, offering more than 200-page templates and customizable sections to make your design process easier.
Here’s what sets GemPages apart for those looking for more advanced design options:
| Feature | What It Does |
|---|---|
| Pre-built Section Library | Lets you apply consistent design elements across multiple pages |
| Custom Layout Builder | Enables you to create layouts that go beyond theme restrictions |
| Image Comparison Elements | Helps highlight product features with before-and-after sliders |
| Mobile-Responsive Design | Ensures your store looks great on any device |
One standout feature of GemPages is its ability to design custom sections that can be reused across different pages. For example, you could create a unique product showcase section and apply it throughout your site, keeping your design consistent while saving time.
Unlike Shopify’s Theme Editor, GemPages gives you far more creative control, making it possible to design layouts that truly stand out. Its focus on responsive design and no-code tools aligns perfectly with the growing need for fast, user-friendly, and visually distinct e-commerce experiences.
While GemPages offers impressive design freedom, it’s still important to choose the right Shopify theme as a foundation to meet your store’s specific needs.
5. Choose the Right Theme for Your Store
Starting with the right theme sets the stage for creating a store that’s both functional and visually appealing. While tools like GemPages give you more design freedom, your theme plays a key role in shaping the overall user experience and boosting conversions.
| Evaluation Factor | Key Features to Look For |
|---|---|
| Performance & Mobile Optimization | Quick load times (under 3 seconds) and responsive design |
| Customization Options | Adjustable sections and easy-to-use settings |
| App Compatibility | Smooth integration with essential apps |
| Support & Updates | Regular updates and clear, helpful documentation |
Think about your store’s specific needs. For instance, a fashion store might focus on themes with large product images and lookbook-style layouts. Test critical elements like navigation, image scaling, checkout flow, and product pages on different devices to ensure everything works smoothly.
If you’re considering premium themes, don’t just focus on the upfront cost. Look at the long-term value they provide. A well-crafted and frequently updated theme can save you time and money on future customizations and maintenance.
Once you’ve picked the perfect theme, your next task is optimizing it so it runs seamlessly on mobile devices.
6. Focus on Mobile Optimization
With more than 70% of online shopping now happening on mobile devices, making your Shopify theme mobile-friendly is a must in 2025. A well-optimized mobile experience not only increases conversions but also keeps customers happy.
| Mobile Element | What to Focus On | Why It Matters |
|---|---|---|
| Navigation | Use clear hamburger menus and concise categories | Makes browsing easier |
| Buttons & CTAs | Design large, tappable, full-width buttons | Reduces accidental clicks |
| Images | Use compressed, responsive files | Improves loading speed |
| Forms | Minimize input fields | Speeds up the checkout process |
Speed Optimization
Mobile users expect pages to load in under 3 seconds. Use tools like TinyPNG to compress images and improve load times. Test your site’s speed using Google PageSpeed Insights to identify areas for improvement.
Streamlined Navigation
Keep your mobile menu simple. Use a clear hamburger icon and limit main navigation options to 5-7 categories. This keeps things clean and easy for users to find what they need.
Touch-Friendly Design
Make sure interactive elements, like buttons and links, are spaced at least 10px apart. Buttons and CTAs should be large enough to tap easily, and body text should use a minimum font size of 16px for readability.
Test and Monitor
Regularly use Google’s Mobile-Friendly Test to ensure your site works well on mobile devices. Pay close attention to critical features like:
- Product image galleries
- Cart updates
- Payment processing
- Form submissions
Mobile optimization is just one piece of the puzzle. Pair it with quick load times to deliver a seamless shopping experience.
sbb-itb-3344688
7. Speed Up Your Store
The speed of your store has a direct effect on your sales. Even a 1-second delay in loading time can lower conversions by 7%. Here’s how to make your Shopify store faster in 2025.
Speed Optimization Techniques
Images and Code
- Compress images with tools like TinyPNG to shrink file sizes by 50-80%.
- Use lazy loading to improve performance on both mobile and desktop.
- Save images in WebP format with a JPEG fallback for smaller file sizes (25-35% reduction).
- Clean up your theme by removing unused code and minifying CSS and JavaScript.
- Stick to only the third-party apps that are absolutely necessary.
Performance Monitoring
Keep an eye on these key metrics with Google PageSpeed Insights:
| Metric | Target |
|---|---|
| Time until page is interactive | Under 3.5 seconds |
| First visual content appears | Under 2.5 seconds |
| Total delay time | Under 300 milliseconds |
CDN and App Management
Use Shopify’s Content Delivery Network (CDN) to speed up load times for customers worldwide. Regularly review your app list – monthly is a good rule of thumb – to remove any that aren’t essential. For the apps you keep, ensure they’re optimized for speed.
Best Practices
- Run performance audits every month.
- Test your store’s speed on different devices and from various locations.
- Check the impact of new apps or features on loading times.
- Get rid of unused theme elements and custom code.
Improving your store’s speed is essential, but pairing it with no-code tools can also enhance the shopping experience for your customers.
8. Use No-Code Tools for Customization
Improving your store’s speed is important, but creating a polished design and adding functionality without needing coding skills can be just as crucial. No-code tools let store owners build professional-looking designs without any technical know-how.
Platforms like Shogun and PageFly provide features that make advanced customizations simple:
| Feature | What It Does |
|---|---|
| Drag-and-drop editor | Lets you visually customize your site without writing code |
| Pre-built sections | Ensures a consistent look across all pages |
| Responsive design | Automatically optimizes your site for mobile devices |
| Theme integration | Works smoothly with your existing theme |
How to Make the Most of No-Code Tools
To get the best results from no-code customization, focus on these key steps:
- Use mobile-friendly templates that reflect your brand’s style.
- Build reusable sections to save time and keep your design consistent.
- Keep an eye on how your changes impact your store’s performance.
Tips for Success
Before finalizing any changes, preview your site on different devices to ensure it looks professional everywhere. Pair these tools with Shopify’s theme editor to handle both basic and advanced tweaks while maintaining performance and security.
Stay up to date by regularly updating your no-code platform. This ensures you have access to the newest features and security improvements. No-code tools simplify creating professional designs, but if you’re looking for even more options, exploring third-party themes can take your store to the next level.
9. Add Features with Third-Party Themes
In 2025, third-party themes are a great way to expand your Shopify store’s capabilities beyond the basics. These themes, developed by trusted Shopify Partners, come packed with advanced tools that can improve both your store’s performance and how users interact with it.
Features to Look For
| Feature Category | What It Offers |
|---|---|
| Product Display | Better product pages, smooth scrolling, inventory tools |
| Sales Tools | Flash sales, quick-buy options, promotional tools |
| Content Tools | Flexible sections for storytelling and visuals |
| Mobile Experience | Improved responsive designs, faster load times |
Picking the Right Theme
When choosing a third-party theme, think about your store’s size, industry, and branding. Some themes are tailored for flash sales and timed promotions, while others focus on rich storytelling with editorial-style content. Make sure the theme aligns with your business goals, fits your budget, and works well with your current setup.
Tips for Smooth Implementation
To get the most out of a third-party theme without running into issues:
- Keep the theme updated to benefit from the latest improvements.
- Document any customizations for easier updates later.
- Test compatibility with your existing apps and tools.
- Monitor site speed to avoid slowdowns.
- Check performance on all devices to ensure a uniform experience.
While third-party themes can add a lot of functionality, they shouldn’t come at the cost of your store’s performance. Regular updates and thorough testing are key to keeping your site stable and user-friendly.
Using pre-built sections within these themes can also simplify your customization process and save time.
10. Use Pre-Built Sections in Themes
Shopify themes come with pre-built sections that let you design polished, consistent pages – no coding required. These pre-designed components make it easy to create visually appealing, mobile-friendly pages while staying true to your brand’s style.
Common Pre-Built Sections and Their Uses
| Section Type | Best Used For | Key Features |
|---|---|---|
| Image Banners | Homepage heroes, promotions | Eye-catching visuals, custom spacing, mobile-friendly |
| Featured Collections | Product showcases | Auto inventory updates, quick-buy options |
| Rich Text | Brand stories, announcements | Simple content updates, dynamic elements |
| Multicolumn | Feature highlights, category grids | Flexible layouts, mobile-specific adjustments |
| Video Sections | Product demonstrations | Interactive content, autoplay options |
How to Add Pre-Built Sections
To use pre-built sections, open the Shopify theme editor, click on ‘Add section,’ and adjust the settings to fit your brand. Here are a few tips for making the most of these sections:
- Stick to your brand’s style guide to create a unified look.
- Adjust spacing and padding to establish visual hierarchy.
- Use dynamic content where it adds value.
Tools to Save Time
Some tools allow you to update sections across multiple pages at once, saving you time and ensuring consistency. This is especially handy for managing seasonal updates or promotional campaigns.
Pre-built sections simplify the design process, but tailoring them to reflect your brand can elevate your store even further. Stay tuned for tips on how to do this effectively in the next section.
11. Match Your Theme to Your Brand
Your Shopify store should reflect your brand identity clearly and consistently. Customizing visual elements strategically ensures your store looks professional and resonates with your audience across all devices.
Key Brand Elements
| Element | Focus Area |
|---|---|
| Colors | Use your brand palette for backgrounds, buttons, and text to strengthen identity and build trust. |
| Typography | Choose fonts for headers and body text that set the right tone and are easy to read. |
| Layout | Structure pages and space content to guide users naturally through your store. |
Customizing Your Store
Start by incorporating your logo and primary branding elements. Then, apply your color palette thoughtfully:
- Use primary and secondary colors for calls-to-action (CTAs).
- Add contrasting background colors to distinguish sections.
- Ensure text colors meet contrast standards for readability.
- Use accent colors sparingly to highlight key elements.
Consistency on All Devices
A seamless brand experience across devices is essential. Pay attention to:
- Logo placement and ensuring text remains legible.
- Spacing around buttons and links for easy interaction.
- Color contrast and maintaining a clear visual hierarchy.
- Navigation clarity, especially on smaller screens.
Tools for Advanced Customization
Shopify’s built-in tools cover most branding needs, but specialized apps can help you design unique layouts for campaigns or promotions. These are particularly useful for seasonal sales or exclusive collections, as long as they align with your overall brand style.
Before rolling out changes, test your design on various devices to ensure everything looks and functions as intended. Regular testing and updates will keep your store visually appealing and in sync with your brand.
12. Keep Your Theme Updated
Once you’ve customized your theme to match your brand, it’s important to keep it up to date. Regular updates help ensure your store stays secure, functions properly, and works seamlessly with Shopify’s newest features.
Update Management Strategy
| Phase | Action Items | Purpose |
|---|---|---|
| Preparation & Testing | Back up your theme, review the changelog, test in a development environment | Avoid disruptions |
| Implementation | Apply updates during low-traffic times, verify functionality post-update | Ensure a smooth process |
Use Version Control to Manage Updates
Version control can help you manage updates efficiently while keeping your customizations intact:
- Organize Your Code: Use tools like Prettier to clean up and standardize your theme files.
- Document Changes: Keep a detailed record of all customizations to reference when updating.
- Test for Compatibility: Check updates against key features, such as payment systems, filters, and mobile responsiveness.
Monitoring and Maintenance
Keep an eye on updates through your Shopify admin dashboard. It’s also a good idea to coordinate with app developers to ensure everything remains compatible after updates.
Post-Update Performance Checks
After applying updates, review your store’s performance across different devices and features, including:
- Checkout process
- Mobile navigation
- Custom features
- Overall speed and functionality
Keeping your theme updated not only protects your store but also ensures it stays aligned with the latest e-commerce trends. Staying on top of updates means your store will remain secure, fast, and ready for new Shopify features.
Conclusion
Customizing Shopify themes in 2025 revolves around creating a smooth user experience and ensuring strong performance. By applying these strategies, you can build storefronts that excel in a mobile-first and highly competitive e-commerce market.
Start with proper groundwork, like backing up your theme and getting familiar with Shopify’s built-in tools. Platforms such as GemPages can offer more options for customization without needing deep coding skills, all while keeping user experience and performance at the forefront.
| Customization Focus Area | Effect on Store Performance |
|---|---|
| Mobile Optimization | Better user engagement and lower bounce rates |
| Speed Optimization | Higher conversion rates and improved SEO |
| Brand Alignment | Stronger customer trust and brand recognition |
To stay ahead, Shopify stores should continually adjust to emerging trends. This involves tracking performance metrics, gathering customer insights, and embracing new tools and technologies as they emerge.
Customizing themes isn’t a one-time task. Staying updated with Shopify’s latest features and listening to customer feedback will help you refine your store’s design and functionality, ensuring your Shopify store remains competitive in 2025’s e-commerce environment.
FAQs
What is the Liquid code for Shopify?
Liquid is Shopify’s templating language, used to fetch and display store data like product details and prices. It enables you to customize your store’s theme dynamically. For example, using {{ product.price | money }} will show product prices formatted according to your store’s currency.
While Liquid helps create dynamic content, it’s equally important to ensure this content works well on mobile devices for a smooth shopping experience.
How do I make my Shopify store mobile-friendly?
Making your Shopify store mobile-friendly is crucial for success in e-commerce. Here are some effective strategies:
| Optimization Area | Strategy | Benefit |
|---|---|---|
| Navigation | Use hamburger menus and sticky headers | Makes browsing easier |
| Visual Elements | Implement responsive images, flexible layouts, and readable fonts (14-16px) | Maintains a polished look |
| Performance | Add large, tap-friendly buttons (44x44px) | Enhances usability |
Consider using mobile-first themes like Dawn for better performance. Regularly test your store’s responsiveness with tools like Google’s Mobile-Friendly Test to ensure a consistent experience across devices.